

TL;DR: Take me to the steps.
Alright, picture this: you’ve got this brilliant idea swirling in your head, you’re pumped up and ready to go. You even went ahead and snagged the perfect domain name. Now, you’re just a few clicks away from entering your credit card details and paying for website hosting.
But hold up, there’s a tiny voice in your head whispering doubts. Will this be another one of those “Coming Soon” pages that just gathers dust for years without any action from you? Trust me, I’ve been there… many a times.
Or maybe, you’re brimming with ideas and have all the time in the world to dedicate to your project. But let’s face it, building a website takes time. In the meantime, you’ll want to start collecting email addresses and start sharing your exciting venture with everyone you know.
That’s where a “Coming Soon” page becomes your secret weapon. It’s a crucial step in launching a new website or service. It lets your audience know that something awesome is brewing, even if it’s still simmering behind the scenes.
But here’s the annoying part – you have to pay for hosting that page every month. Ugh, right?
Well, guess what? I’ve got a little secret for you. There’s actually a free way to host your “Coming Soon” page using Cloudflare. Yes, you heard me right!
By harnessing the power of Cloudflare Workers, you can host your page for absolutely free with minimal setup. And if you keep reading, I’m going to teach you how.
Just So You Know
There are account plan limits for Cloudflare Workers. Learn more about Cloudflare Workers limits on Cloudflare Docs.
What are Cloudflare Workers?
Cloudflare Workers are a serverless platform that allows developers to deploy and run their code globally. This means your code can be executed closer to users, improving performance and reducing latency. And it’s a really good use case for serving static pages, such as coming soon pages that have minimal overhead.
And it’s pretty easy to set up!
Here’s a step-by-step guide on how to make it happen.
But before we dive in, let’s assume you’ve already signed up for a free Cloudflare account and your nameservers are pointed to Cloudflare.
Here’s the step-by-step guide:
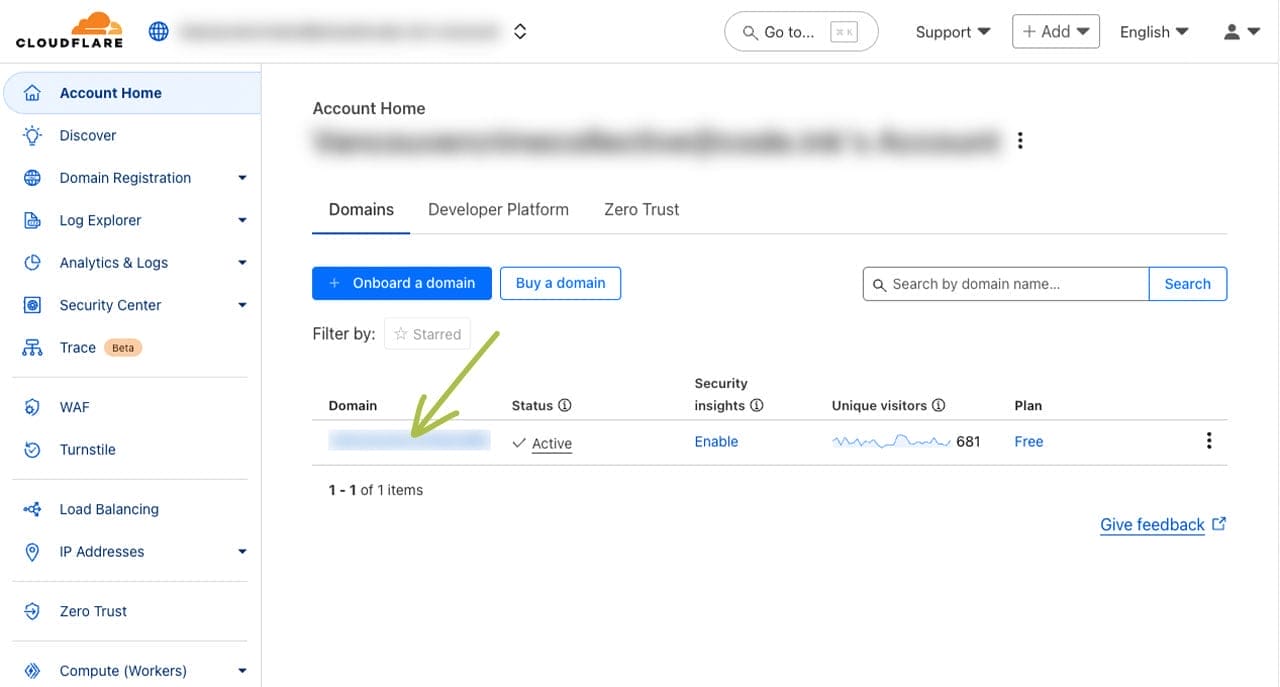
Step 1: Access Your Account
Login to Cloudflare.
If you have multiple accounts, select the correct account to access.
If you only have one account, skip this step.

Step 2: Click on the Domain You Wish To Setup the Holding Page For
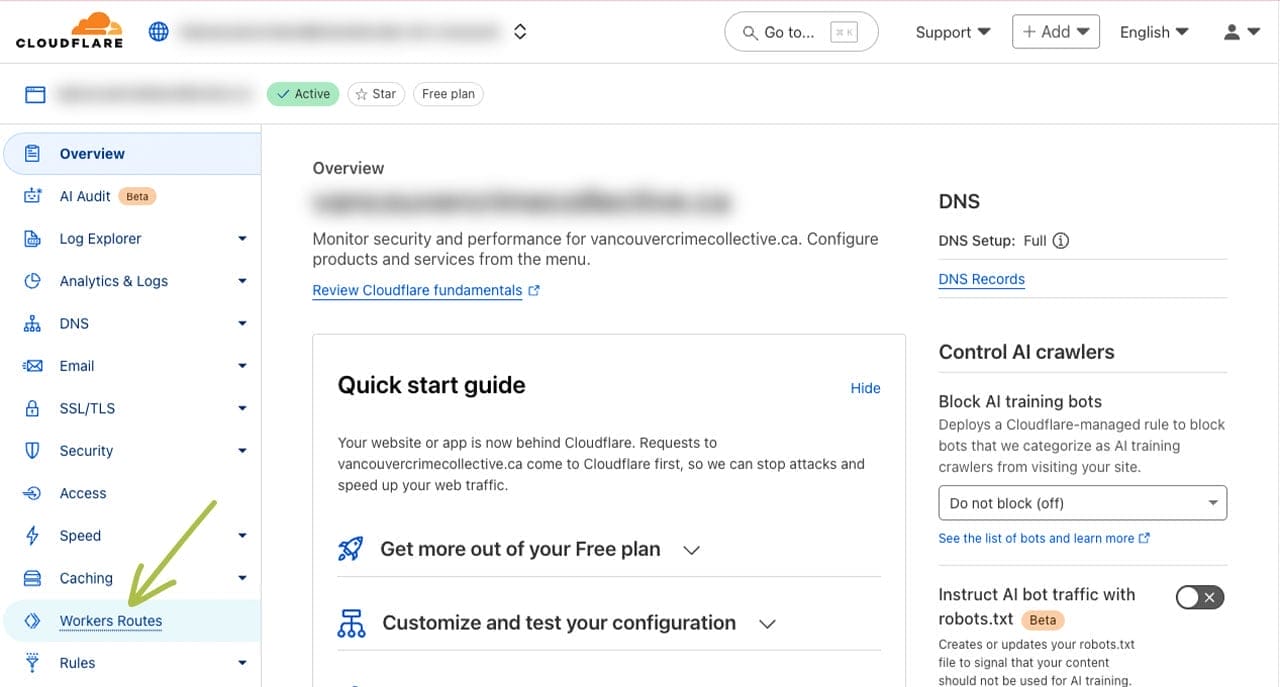
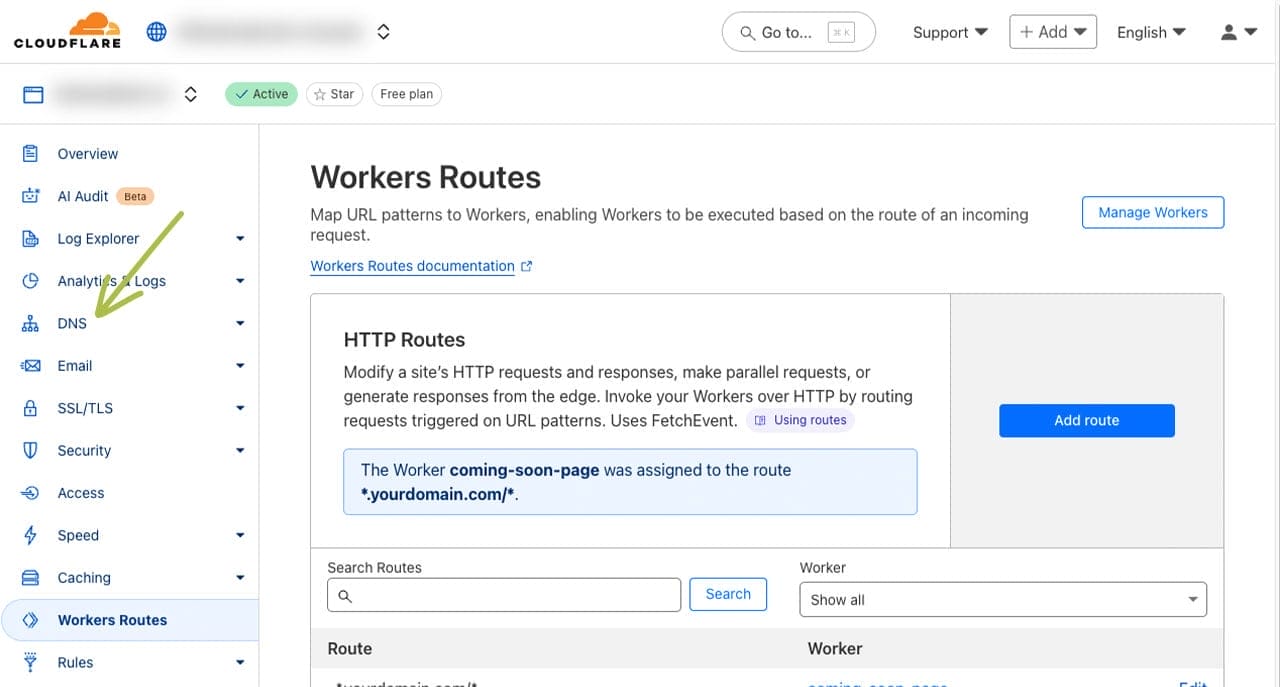
Step 3: Navigate to “Workers Routes” (formerly Workers & Pages)
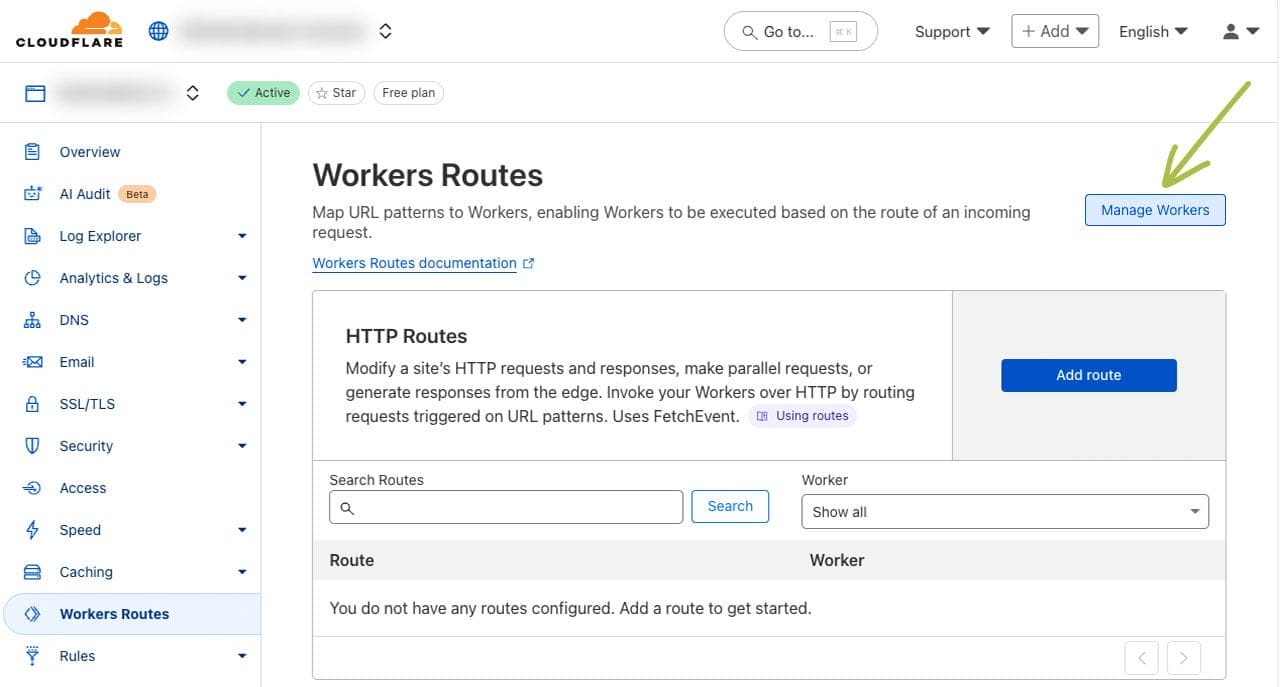
Step 4: Click the “Manage Workers” Button
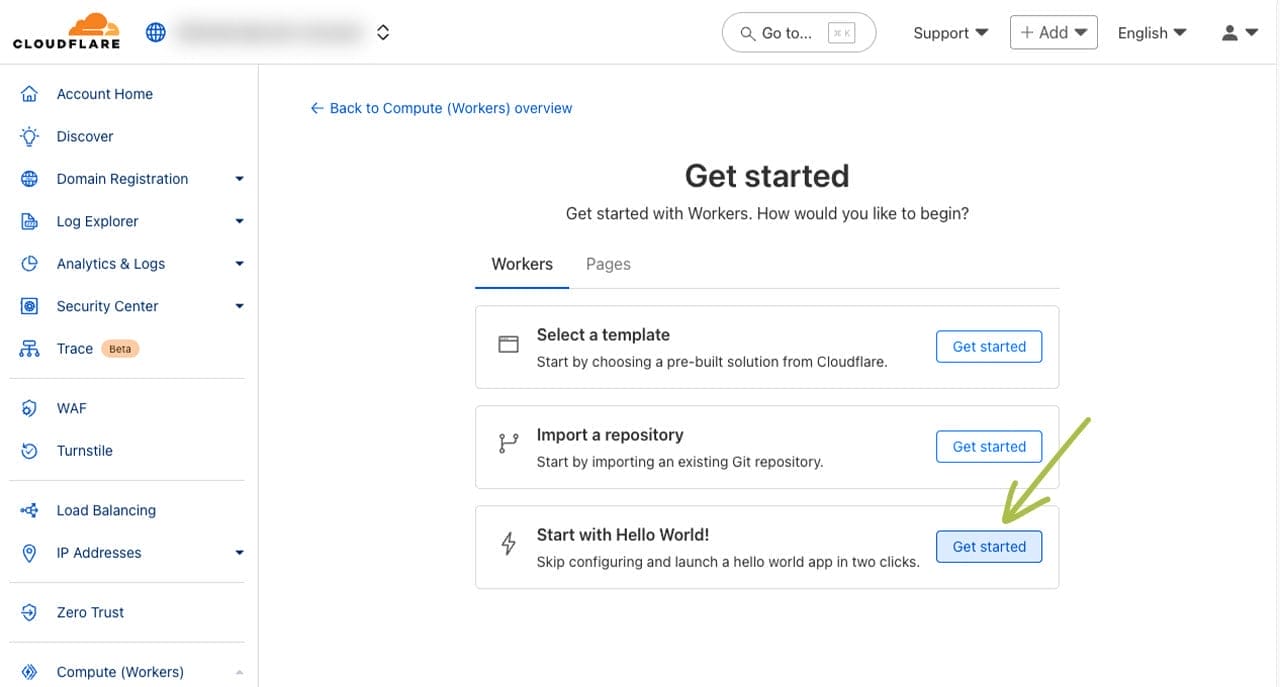
Step 5: Click “Get started” next to “Start with Hello World!” in the “Workers” tab
If you already have existing workers or pages, you’ll need to first click the blue “Create” button to see this screen.
Step 6: Name Your Worker Script
In the “Worker name” text field, label your worker script.
For example: coming-soon-page.
Don’t worry about the Code preview. We’ll modify this shortly.
Click the “Deploy” button.
Step 7: Click the “Edit Code” Button
Step 8: Copy and Paste Worker Code to worker.js
Replace the default code in the Cloudflare Workers editor (worker.js) with the code below.
Below is the code to copy and paste in the worker.js.
addEventListener('fetch', event => {
event.respondWith(handleRequest(event.request))
})
async function handleRequest(request) {
const html = `
<!DOCTYPE html>
<html lang="en">
<head>
<meta charset="UTF-8">
<meta name="viewport" content="width=device-width, initial-scale=1.0">
<title>Coming Soon</title>
<style>
body {
display: flex;
justify-content: center;
align-items: center;
text-align: center;
height: 100vh;
margin: 0;
font-family: Helvetica, sans-serif;
background-color: #f3f3f3;
color: #333;
}
h1 {
font-size: 4em;
margin-bottom: 0.5em;
}
p {
font-size: 1.5em;
}
</style>
</head>
<body>
<div class="wrapper">
<div class="icon">
<svg xmlns="http://www.w3.org/2000/svg" width="200" height="200" viewBox="0 0 24 24">
<path fill="currentColor" d="M5.52 20.596V15.46q0-.404.189-.768q.19-.363.537-.58l1.196-.783q.175 1.754.454 3.036q.279 1.283.906 2.91l-3.283 1.321Zm4.051-1.788q-.606-1.535-.934-3.145q-.33-1.61-.33-3.276q0-2.645.902-4.86q.9-2.214 2.791-3.927q1.89 1.713 2.791 3.928q.901 2.214.901 4.859q0 1.661-.329 3.268q-.328 1.607-.934 3.153H9.57ZM12 12.5q.633 0 1.066-.434q.434-.433.434-1.066t-.434-1.066Q12.633 9.5 12 9.5t-1.066.434Q10.5 10.367 10.5 11t.434 1.066q.433.434 1.066.434Zm6.462 8.096l-3.283-1.302q.627-1.627.906-2.919q.278-1.292.453-3.046l1.197.802q.348.217.537.58q.19.364.19.768v5.117Z"/>
</svg>
</div>
<h1>Coming Soon</h1>
<p>Get ready for something exciting!</p>
</div>
</body>
</html>
`;
return new Response(html, {
headers: { 'content-type': 'text/html' },
})
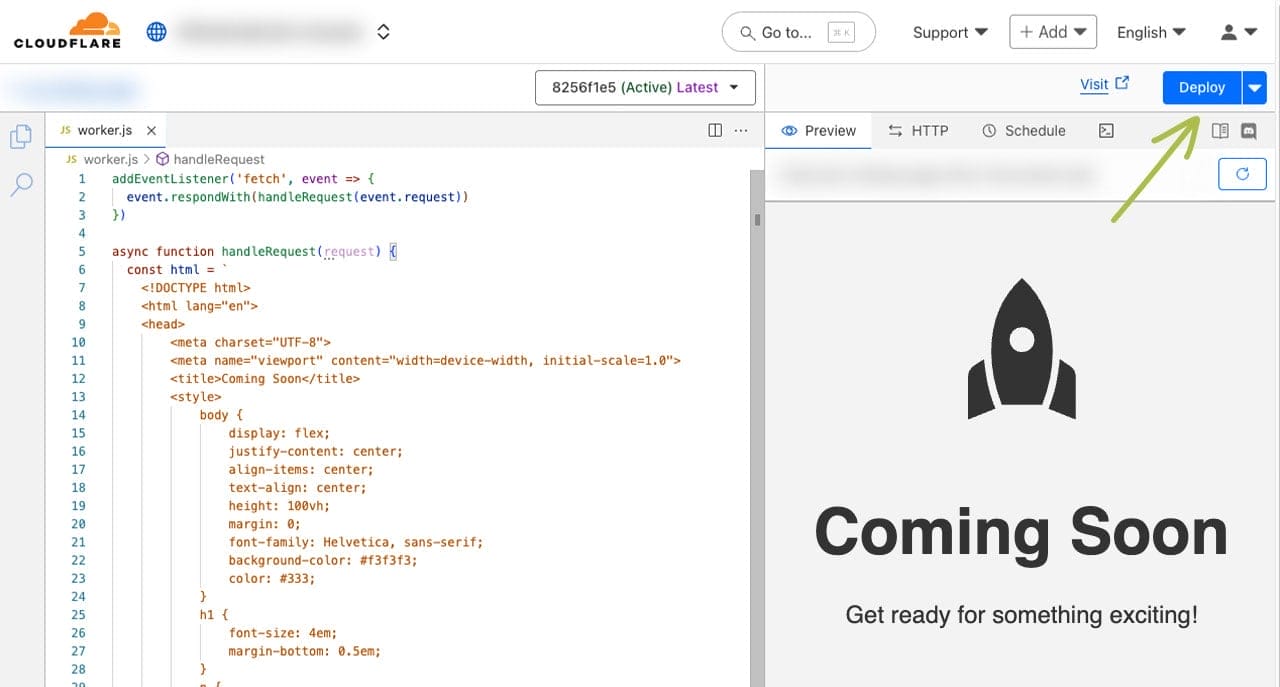
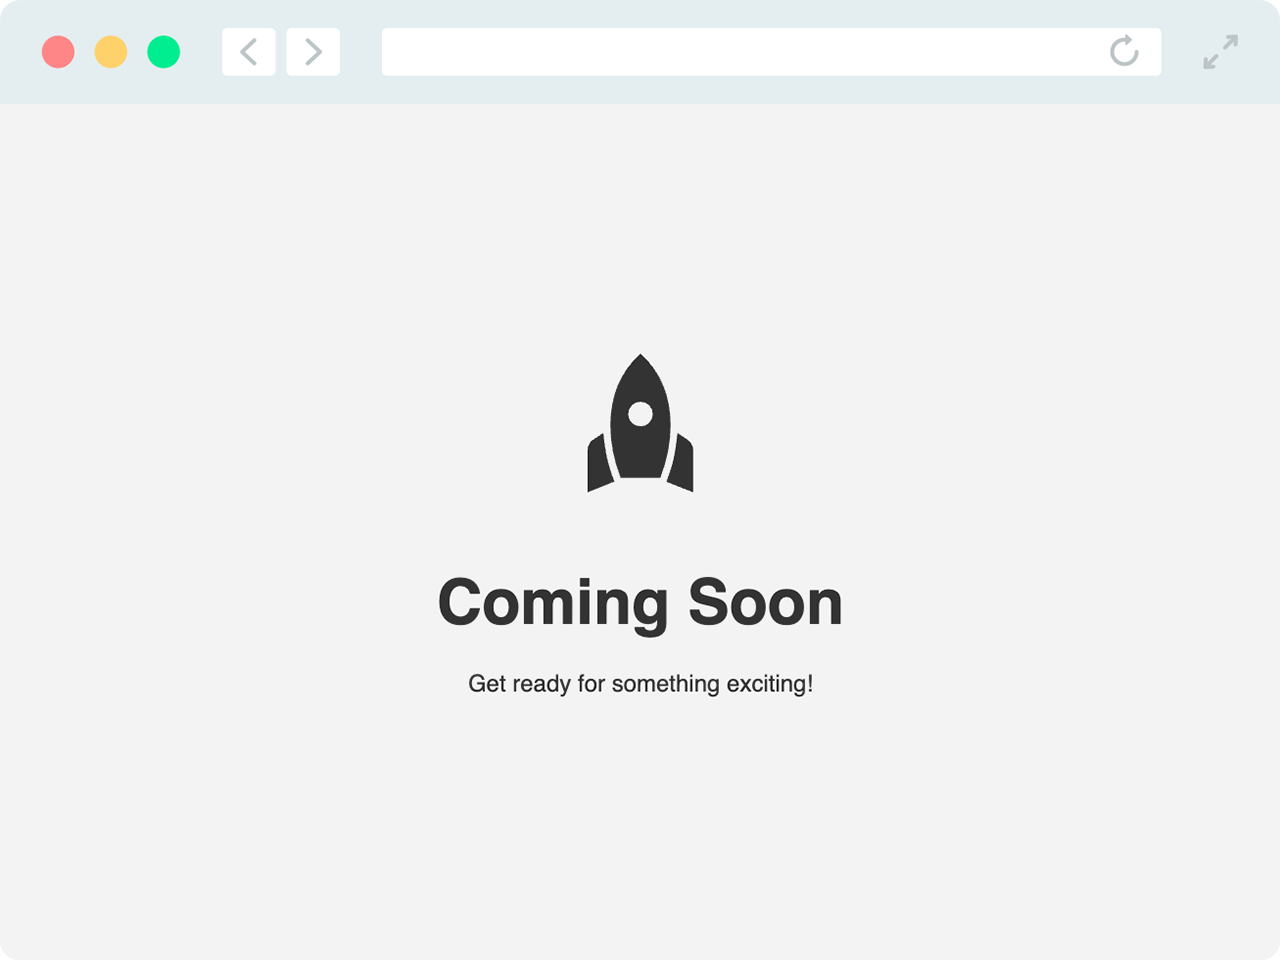
}This is just a simple coming soon page to show you what can be done, but go ahead and get creative and build what you want to your liking.
In the preview tab, click the refresh icon next to the domain to see the changes.
Hot Tip
If you want to replace the rocket icon, simply replace the SVG code (lines 37-39) in the above worker.js. The existing rocket icon is from Google’s Material Symbols & Icons.
Step 9: Click the “Deploy” Button
Step 10: Go Back to “Workers & Pages”
Go back by clicking “<- coming-soon-page” link above the worker.js, and then clicking “Account Home” from the left menu panel.

Step 11: Click on Your Domain Again

Step 12: Click on “Workers Routes”

Step 13: Click on the “Add route” button

Step 14: Route Traffic Through Your Worker
Enter the following in the “Route” text field.
yourdomain.com/*Make sure to replace “yourdomain.com” with your actual domain. Add another one with:
www.yourdomain.com/*Then, select the Worker you created earlier, ‘coming-soon-page’, and click “Save”
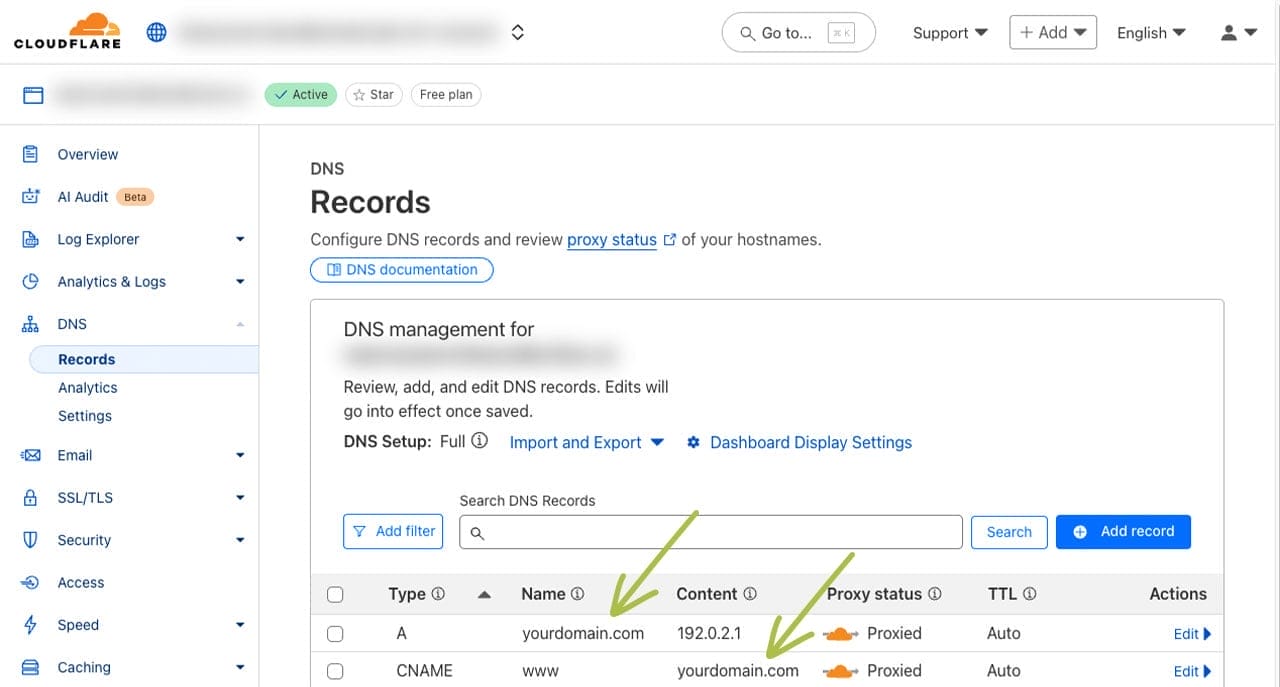
Step 15: Navigate to the “DNS” Page
Step 16: Update Your “A” Record for Your Domain, and the “CNAME” for “www”
These next changes will make your coming soon page live. Only make these changes when you’re ready!
Set the “A” record for your domain to: 192.0.2.1.
Set your “CNAME” record for “www” to: “yourdomain.com” (replace this with your domain)
Ensure both of these records are proxied. The cloud icon should be orange, not grey.
Note: Once you make these changes, your coming soon page will be live!
Step 17: Test Your Worker
Open this URL in your browser to see your “Coming Soon” page in action.
If you get a Cloudflare error, follow these steps:
- Navigate back to “Workers Routes”
- Click on your worker (eg. coming-soon-page)
- Under “Domains & Routes”, disable the worker for ALL Routes except for *.yourdomain.com/*
That’s All Folks!
Hosting a “Coming Soon” page using Cloudflare Workers is a straightforward process that leverages serverless technology for high performance and scalability. Plus, it’s free! By following the steps outlined above, you can quickly get a placeholder page up and running while you work on your full site.
You can also create a Worker for a maintenance page. This is a good way to inform your users that your website is undergoing maintenance.
Your “Coming Soon” Page Is Live! Now What?
Let’s make sure what comes next is worth the wait. CodeInk helps creators and small businesses move from placeholder to powerhouse with strategy-driven web design that actually performs.